
Notes on Using SuperGIS Desktop 3 – Part 1
With the notes I will publish under this heading now and in the future, I will try to present some information on the use of one of the geographic information system software packages I have mentioned before, SuperGIS Desktop 3. As the first lesson, let’s start by talking about the program’s user interface:
SuperGIS Desktop 3 Program Overview

Main Menu:
Most functions, such as Edit, File Profile, Tools, Selection, Window and Help, are located in the main menu.

File: This tab contains functions such as saving the created project, opening a saved project, importing and exporting, printing and closing the program.
Edit: This tab contains functions such as editing the project and adding new objects to the project.
View: This tab contains functions such as project display options and customising frequently used tools.
Tools: This tab contains functions such as adding XY data, data management and conversion, and creating macros.
Selection: This tab contains functions such as the selection tools and selection mode.
Window: This tab contains the overview window and magnifier window functions.
Help: This tab contains the online user guides and version information.
Commonly Used Toolbars:
To add new tools to this menu, you can click Tools>Customize>Toolbar in the main menu, or right-click the main menu with the mouse and use the Customize tab.
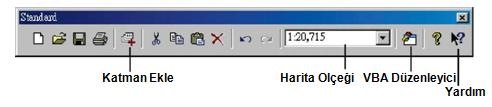
1. Standard Toolbar: Operations such as creating a new project, opening a project, saving a project and adding layers are performed with this toolbar.
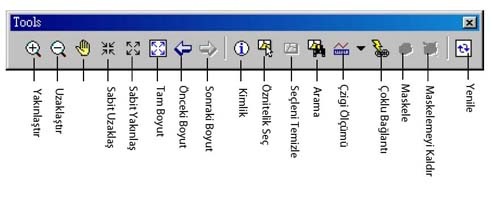
 2. Map Toolbar: This toolbar is used for operations such as zooming in and out of the map in the project window and adding multiple links.
3. Draw Toolbar: The text and graphics in the project are edited with the tools in this toolbar.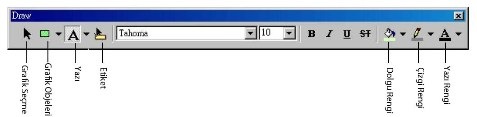
4. Graphics Toolbar: This toolbar is used to arrange, size and rotate the graphics in your project.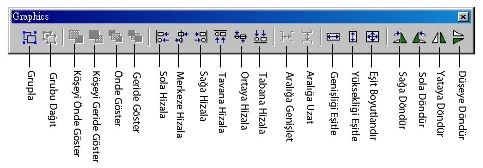
5. Edit Toolbar: This toolbar is used to edit the point, line and polygon layers in the project and to create new ones.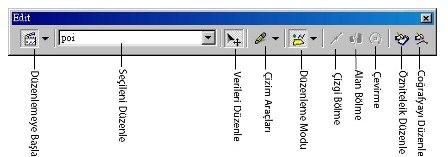
Note: The toolbars whose appearance and descriptions are not given above will be explained in detail as they are covered through projects and examples in my future posts on the subject.
Map Window:
This screen, the map window, allows us to edit our project and to work on layers and maps.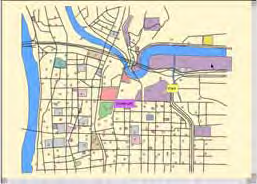
The Screen and Map Coordinates Data:
The constantly changing coordinates on this screen show us the latitude and longitude of the point where the mouse cursor is on our map. 
Goto Button:
 When we click this button, we can go to a point on our map whose coordinates we know by typing its coordinates into the screen that appears.
Table of Contents:
The table of contents allows us to create new layers in our project, add existing layers, perform a number of editing operations on the layers and display these layers in the map window.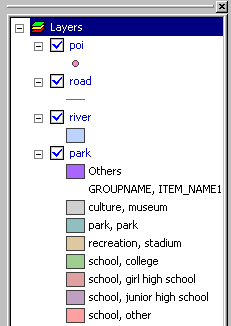
In this post, with a brief, surface-level introduction to SuperGIS Desktop 3, we got to know the program in broad outline. In my future posts about the program, I plan to provide more comprehensive information on how it works and to reinforce this information with sample project work.
I hope you find this content useful.
Source:
The document SuperGIS Desktop 3.0 User Guide was used in preparing this post.
11 October 2010, KTÜ Trabzon
Posted: by Hakan KOCAMAN

Category: Articles, Computers, GIS, Software, SuperGIS
Tags: GIS Software, SuperGeo, SuperGIS, SuperGIS Desktop 3, Using SuperGIS